D-Link DAP1330 Setup: Elevate Your Networking Experience
The D-link DAP-1330 is a portable extender that easily extends your existing router’s network. Additionally, it has an easy-to-access web interface that assists you in connecting to the local internet. Likewise, if you want to know the D-LINK DAP 1330 setup in simple steps, then stay on this page. Here, you explore multiple methods to configure your extender, so stay connected!
D-LINK DAP 1330 configuration requirements
Before you go ahead with the configuration process, ensure to have the below-mentioned things with you:
Active internet connection
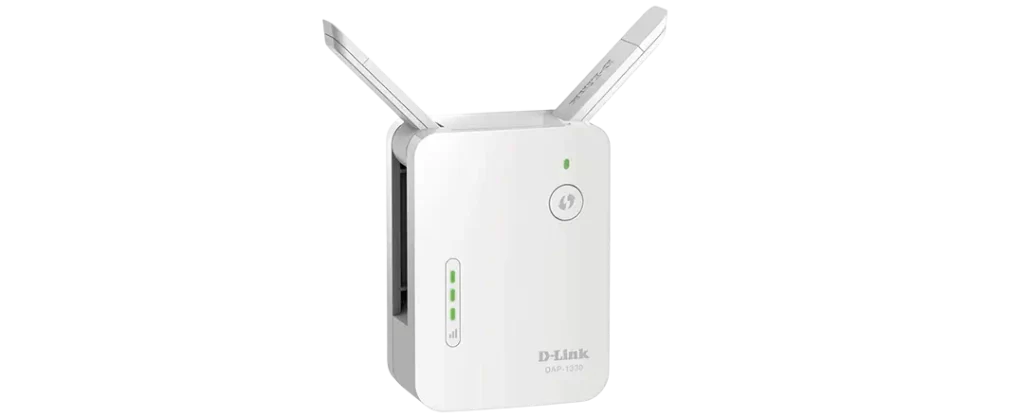
D-link DAP-1330 extender/router
Web/IP address
Admin credentials
Dlink QRS app
Computer/ smartphone
How to set up D-LINK DAP 1330 using different methods?
Moreover, when you are ready with the primary necessities, then move forward to the setup process. In this section, we share detailed steps for web GUI, app, and WPS methods to carry out the D-LINK DAP 1330 setup process, let’s take a look:
Configuring the extender using the web portal
Firstly, connect your Windows to the Dlink DAP 1330 repeater’s network.
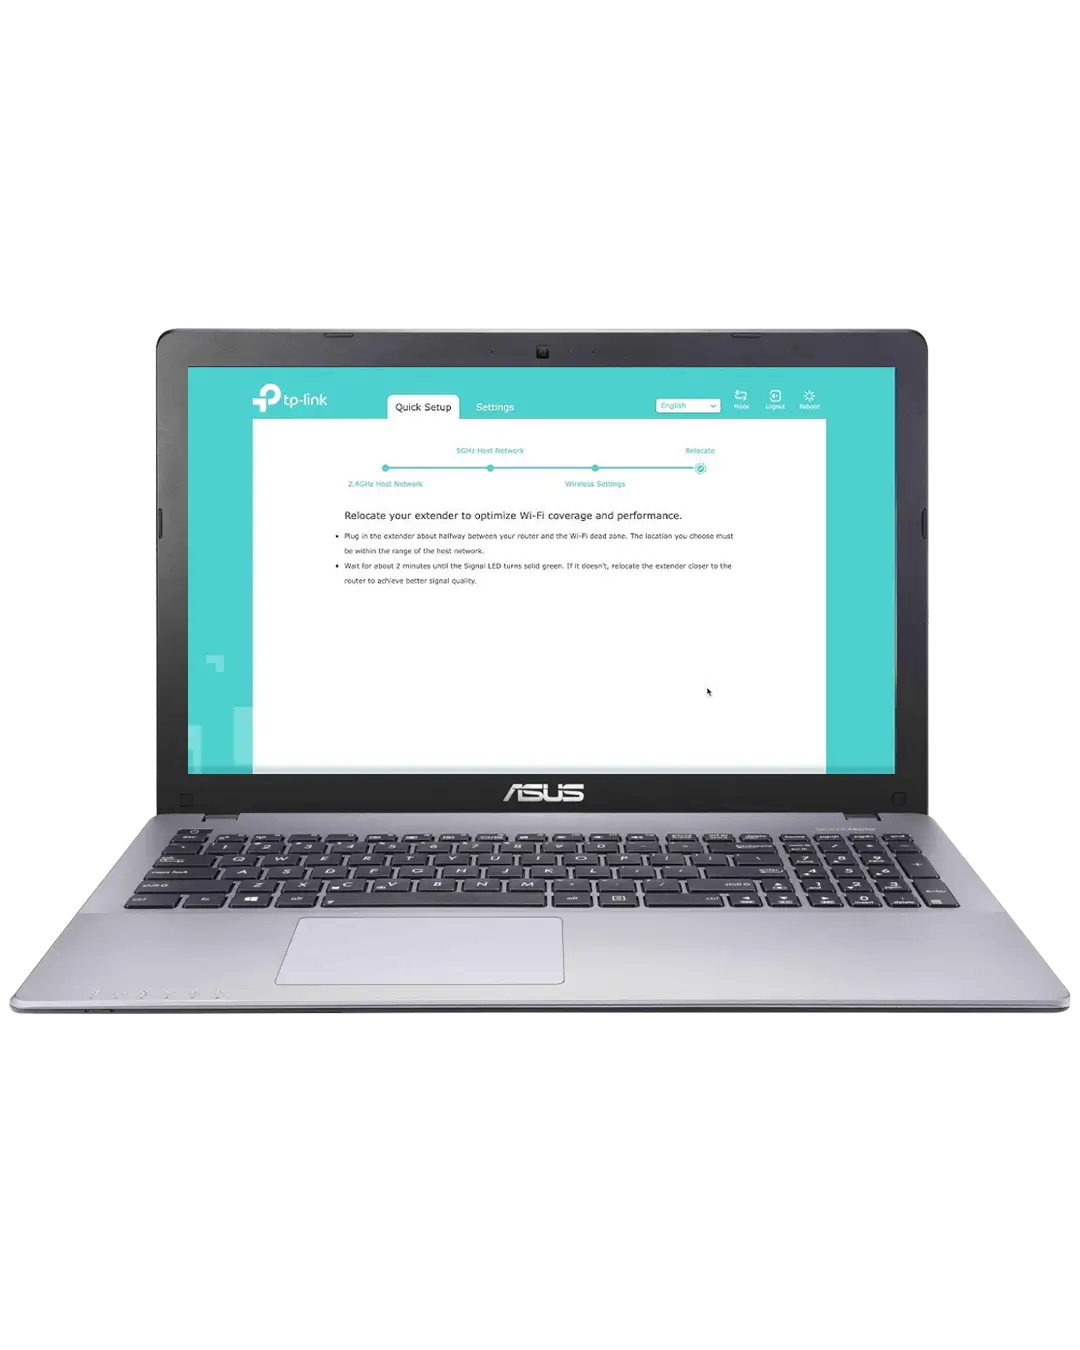
Next, activate your preferred web browser and write in dlinkap.local web address in the browser bar.
You can also use the 192.168.0.50 IP address in the URL bar if the web address is not working.
After that, enter the accurate admin user credentials on the login window.
Here, you reach the D-LINK DAP 1330 setup dashboard of the range extender.
Now, tap on the Router icon and a Welcome screen will appear to you.
Next, to complete the setup process, you can check with three different steps.
To proceed with these steps, select your native language first and click on Next at the bottom of the three options.
Further, choose the Add Wireless to your Wired Network option to link to the existing network.
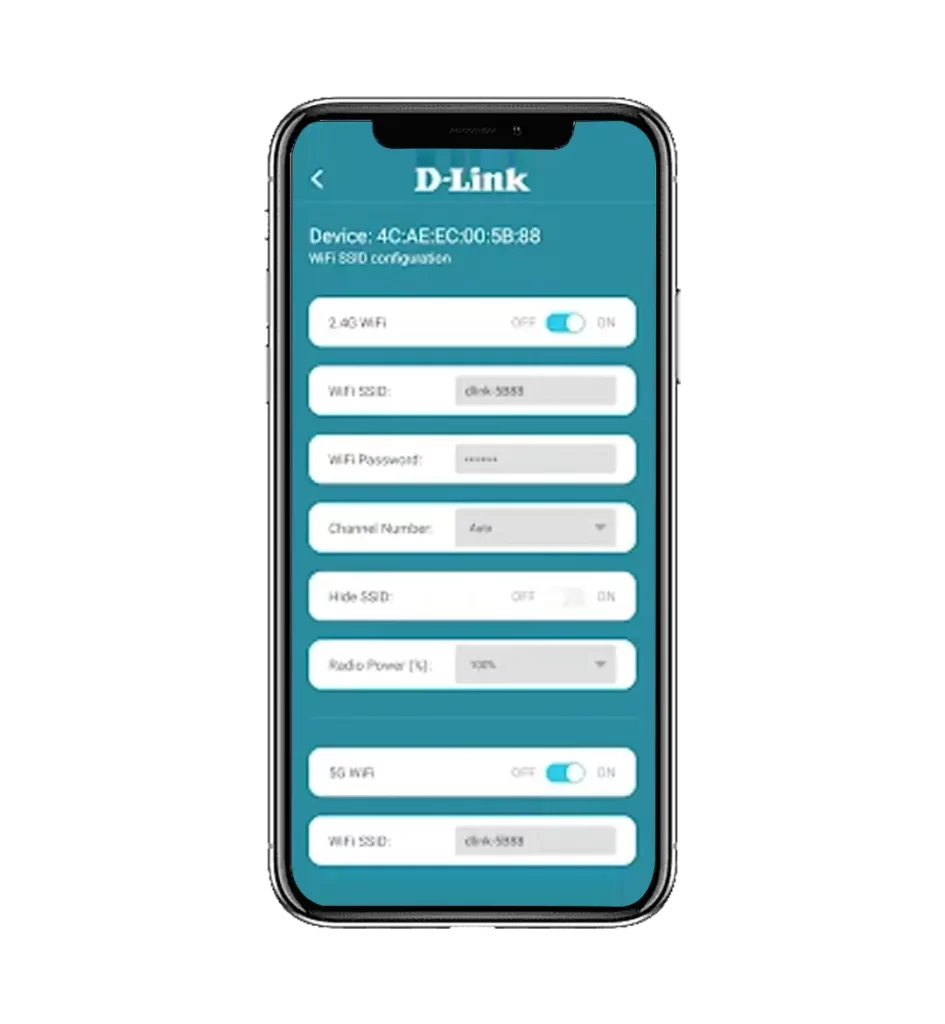
Afterward, you will be prompted to give a new name and password to the extender network.
Here, use a complex network name (SSID) and password for your repeater’s connection.
Again, set a new strong security key for your Dlink DAP1330 range extender.
After that, review the settings you modified and then click on the Finish option.
Now, your networking device will reboot and the D-LINK DAP 1330 configuration ends now.
D-LINK DAP 1330 setup through the app
Primarily, join the Dlink extender network using your phone settings.
After that, run the updated version of the Dlink QRS app on your smartphone.
Now, access the admin account by typing in the accurate admin details.
Further, a Welcome screen presents you with a step-by-step process to connect to your existing router’s network.
Here, tap on Start at the bottom and the next screen prompts you with different available product images.
Now, click on Next and the app will start to scan for the available networks.
The list of available networks is displayed to you.
Hereon, select the preferred router network that you want to extend.
Next to this, type in the password for the selected network and click on Next.
Again, the app screen will ask you to create an admin password for your repeater.
Afterward, click on Next, and the settings you made are shown to you for a recheck.
Lastly, click on Save to implement them, and your range extender is now connected to the existing network.
Here, you delve deep into How to set up D-LINK DAP 1330 efficiently.
Explain the detailed steps for the WPS method to setup D-LINK DAP 1330.
In the above content pieces, you learn about the web address and the app methods to perform the D-LINK DAP 1330 setup. Besides them, WPS is another process that we can use to configure the Dlink repeater. Therefore, for detailed information regarding this procedure, walk through the below section:
Initially, locate and press the WPS button on your existing router.
Similarly, push down the WPS knob on the DAP1330 repeater within two minutes.
Now, wait for a couple of minutes until the LEDs on the extender and router start blinking.
When you see the wifi LEDs on both networking devices flashing, then release the buttons.
Finally, your range extender connects to the router’s network.
On the whole, hope you find this brief guide useful for conducting the D-LINK DAP 1330 setup through multiple methods. Additionally, each process is discussed in detail but if you still get stuck anywhere, directly speak to our professionals here!